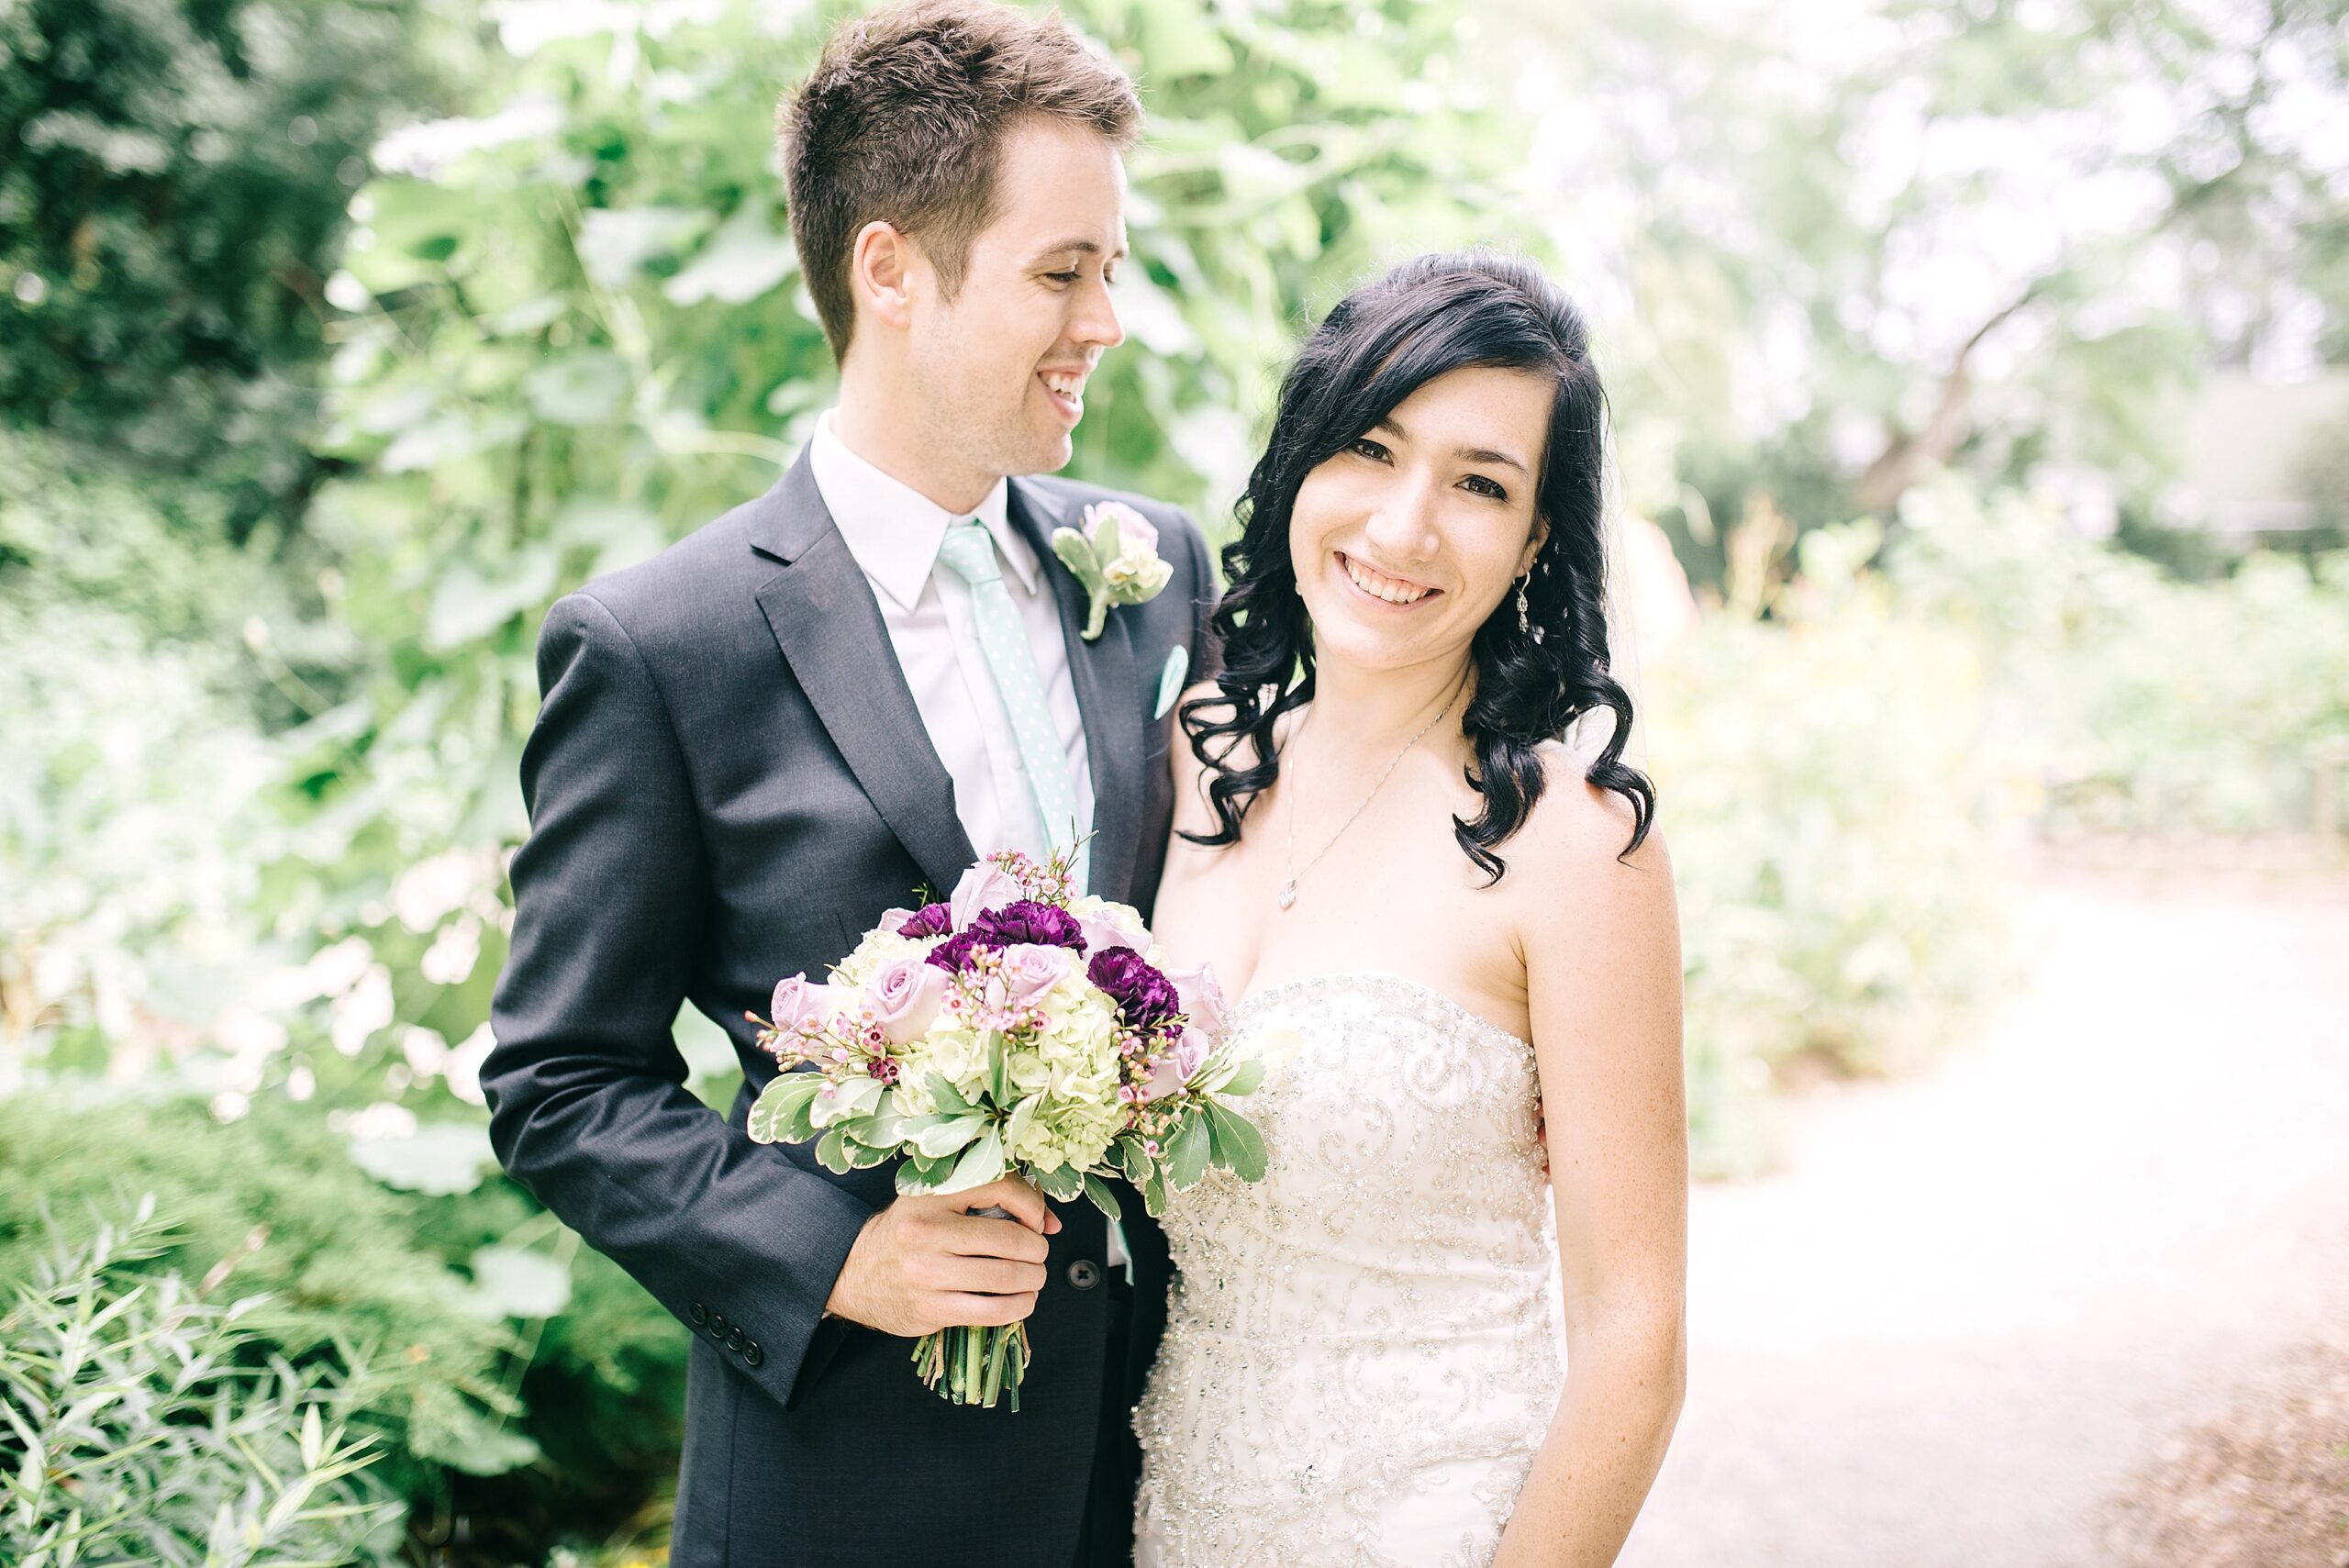
Elopement & Intimate Wedding photographer serving Indiana, Maine, colorado, utah, & Beyond


5 Things I Wish I Knew at the Beginning {Education for Photographers}

When I first decided to pursue photography as my career (4 years ago! Jeez, time flies.), I researched and researched and researched until I couldn’t read the words on my computer screen anymore! But with so much advice, how was I going to implement it all at once in to my photography? Well, to simply put it… I wasn’t. I couldn’t. There was too much information at hand to be able to apply all of it in a short amount of time. Small steps create big results, so I had to pick and choose which pieces of advice I was going to implement first.
Now, of course this list could be a thousand times longer, but even just extending it by one or two key elements might be a bit much for a new photographer. So today, I’m writing about just 5 things I wish I knew when I started pursuing photography! If I had applied this specific knowledge when I was a beginner, I think I could have transitioned from amateur to professional much quicker. But, we live and learn right?!
1. Learn How to Use Your Camera Correctly!
I mean, take that sucker off Auto and learn to adjust the settings manually! This is SO huge and I can’t believe I relied on auto mode for SO long! If you want to be a professional photographer, you should have your camera set to manual mode at all times. This will ensure that YOU have control over the image, not your camera. You know when people say, oh your camera takes great pictures? Wrong. YOU DO. Unless your camera is on auto, in which case, yes your camera takes great pictures. So take her off auto! Here’s a few quick tips to help you get started:
There are only three settings you need to know. THREE! JUST THREE! You can do this! I believe in you!
1. Shutter Speed: Used to determine how quickly your shutter opens. When photographing moving subjects (like a football player) you want to use a higher shutter speed to ensure there is no blur in the photo. When photographing a still subject (like a bowl of fruit) you can use a lower shutter speed because the subject is not moving. Once you understand shutter speed, move on to the next key proponent!
2. Aperture: Think of the aperture as the “pupil” of your camera. When you’re outside, your pupils are like small dots, right? But when you’re indoors, they tend to get bigger. This is because your pupil controls the amount of light your eye takes in. Outside on a sunny day, theres an abundance of light so the pupil gets SMALLER to allow LESS light in. Right? Inside at any point during the day, there is less light entering through your eyes, so to compensate and allow as much light in as possible, your pupils expand. This is your aperture. It controls how much light you let through your lens.
3. ISO: It stands for International Standards Organization. Weird right? What does this have to do with anything? Well, this organization created the scale in which your camera measures it’s sensitivity to light. Okay, okay, but how does this help? Essentially, the ISO can be adjusted to tell your camera that the sensor (the area of your camera that records the actual image), needs to be more or less sensitive to the light.
For example, let’s say you’re shooting outside during sunset. You’ve been using the same settings all hour because (let’s assume) the light hasn’t changed. No need to change your settings. But a few minutes ago the sun set behind the horizon and you’re quickly losing a lot of light. If you’re not ready to call it a wrap just yet, but you don’t want to lower your shutter speed for fear of blurry images, and you can’t lower your aperture any farther. So what you can do instead is RAISE your ISO. Your camera’s sensor will then be more sensitive to the available light, thus creating a brighter image!
These are the only aspects of photography that you need to know to have complete control over how you expose your images! Amazing that it’s just three settings, isn’t it?
The trickier part will be learning which setting to adjust and when in order to get the best exposure.
If you know what all of these settings do, but don’t know how to change them in your camera, read the manual and walk through what you learn as you read. This is the most beneficial thing you can do in order to learn how to properly use your camera!
2. Don’t Fear Using a High ISO!
Going along with what you just read, you’ll quickly learn that increasing your ISO causes “noise”. It’s something that most photographers don’t like, but in some situations, it can’t be avoided. However, you can reduce some noise during post processing. I NEVER learned about ISO because all I knew was that it created noisy, nasty images. Thus, I tried to keep my ISO at the lowest setting possible at all times. Yes, if you push your ISO too high, it WILL add noise. But most camera’s ISO capabilities are extraordinary!
Embrace the noise! If your images are coming out too dark, boost the ISO! A low ISO would be 50-100. A high ISO could be anywhere from 3200-12,800, depending on the camera. Use that in between space to get a more properly exposed image! I wish, so badly, that I knew this from the very beginning. I could have avoided a lot of underexposed images, a lot of post processing headaches, and a lot of being so hard on myself because my photos weren’t turing out how I wanted them. I encourage you, right now, to change your ISO settings and see the results for yourself!
3. You Need a Website!
Facebook is not a professional means of advertising your work. Get a website to showcase your best images! Not only will you appear more professional, but you’ll also be able to display your brand better! Is your style dark and moody? Light and joyful? Use your website to showcase your style! It will help you attract more of your ideal client. As soon as I made my first website, I noticed in increase of wedding inquires. That is because I was displaying only my wedding images. Facebook is a great sidekick, but your website is what will really get your potential clients hooked on your work. If you don’t have one or can’t afford one, there are lots of inexpensive or even free options! Expect it to take some work to build a website, but the payoff will be amazing!

4. Comparison Killed the Cat (or something like that!)
You’ve probably looked at hundreds of beautiful images. You’re probably wishing your images could be that amazing. I’m telling you right now, that no matter how amazing you are (and you’re more amazing than you think you are!), that feeling will never go away. You will always want your work to be better. And that. is. great! Keep striving to produce better images! Never stop learning and never stop growing, but in the meantime, stop comparing.
You are not her, and she is not you. You are not him, or her, or them, or anyone. You are YOU. That is why your work doesn’t look like theirs. Embrace your own unique style. Keep staring at those beautiful images you love so much, admire those images, learn from those images. But don’t think that just because those images are amazing, that your images aren’t. If I could go back in time and smack myself in the face every time I felt bad about my own work, you bet I would. Now if only I had a dollar for each of those times… I’d definitely be rich.
5. It’s Okay to Be New!
You don’t have to be the best photographer in the world straight off the bat! That would put soo much pressure on you! This “beginner” mindset is so precious and even more fleeting! Enjoy it while it lasts, because soon, you’ll develop a style and your days of experimenting and taking photos of flowers and rusty bikes will be over. Well, maybe not completely over. I still take pictures of flowers all the time! haha But you’ll feel less inclined to experiment with your work, and even less inclined to take pictures just for the fun of it. Enjoy being a beginner because being a beginner won’t last forever, but once you’re a professional, you’re a professional. So just know that it’s okay to be new. It’s about the journey, not the destination! (Wow, so cheesy but so incredibly true!)
If you’re a new photographer, or even an experienced photographer, I hope this put things into perspective for you! My biggest advice EVER is to just learn how to perfect your craft and even more importantly, learn to love your own art! There’s so much more I want to teach so check back next week and leave your comments for next weeks topic below!


